IMPORTANT
GraQL is prerelease, experimental, and a demonstration piece. Use at your own risk.
Getting Started
Installation
GraQL is not yet available via a Gradle/Maven dependency (see above: it's prerelease and experimental!).
To get started, you'll need to clone its GitHub repository and add it as a dependency. This will transitively include both graphql-java and the micronaut GraphQL Integration tooling.
If you're starting from scratch, use micronaut launch to create a micronaut application like any other. Be sure to add the graphql feature!
Existing micronaut Applications
Add the micronaut-graphql dependency to your project's build.gradle:
implementation("io.micronaut.graphql:micronaut-graphql")Create A Schema
Following GraphQL best practices, GraQL encourages schema-first design of your API.
Create a schema file in src/main/resources/schema.graphqls.
The following example builds on the micronaut to-do guide, adding:
- GraQL's built in support for a DateTime scalar
- GraQL's built-in federated schema support
- Common GraphQL best practices like single-input mutations
scalar DateTime

type Query {
    toDos: [ToDo!]! # <1>
}
type Mutation {
    createToDo(input: CreateToDoRequest!): CreateToDoResponse
    completeToDo(input: CompleteToDoRequest!): CompleteToDoResponse!
}
input CreateToDoRequest {
    toDo: ToDoDTO
}
input ToDoDTO {
    title: String!
    author: String!
    dueDate: DateTime!
}
type CreateToDoResponse {
    id: ID!
    authorId: ID!
}

input CompleteToDoRequest {
    id: ID!
}
type CompleteToDoResponse {
    id: ID!
    completed: Boolean!
}


type ToDo @key(fields: "id") {
    id: ID!
    title: String!
    completed: Boolean!
    dateCompleted: DateTime
    author: Author!
}

type Author { # <5>
    id: ID!
    username: String!
}
TIP
You can change the location of your schema file and include multiple schema files by adding a list of classpath locations within your application.yaml file as graql.schema-locations
Implement Your API
With a schema in place, it's time to implement your API!
Aligning with GraphQL best practices, we recommend designing, building, and implementing a service tier separate from any GraphQL concerns.
In other words: you should build your services and domain models without depending on GraphQL or GraQL and treat them both as a controller/endpoint layer.
With services and models written, GraQL allows you to add a controller-tier component that accepts inbound GraphQL requests, handling any GraphQL-specific concerns before delegating to a service tier:
@GraQLComponent
class BookController(
    private val bookService: BookService,
    private val authorService: BookService,
) {

    /*
    Register a Query with @GraQL, defaulting to the method name as
    the name of the GraphQL dataFetcher.
    */
    @GraQLQuery
    fun books(request: FindBooksRequest?): Collection<Book> {
        /* Any typical format-specific controller-tier stuff here! */
        /* ...stuff... */

        /* Ok, delegate to a service */
        return bookService.findBooks(request ?: FindToDosRequest())
    }

    /*
    Register a Mutation with @GraQL, defaulting to the method name as
    the name of the GraphQL dataFetcher.
    */
    @GraQLMutation
    fun createBook(request: CreateBookRequest): CreateBookResponse {
        return bookService.createBook(request)
    }
}
Test Your API
With Code
The underlying micronaut GraphQL extension provides a /graphql endpoint within your application. By posting GraphQL queries, you can test your API from kotest, JUnit, or any other test framework.
Visually
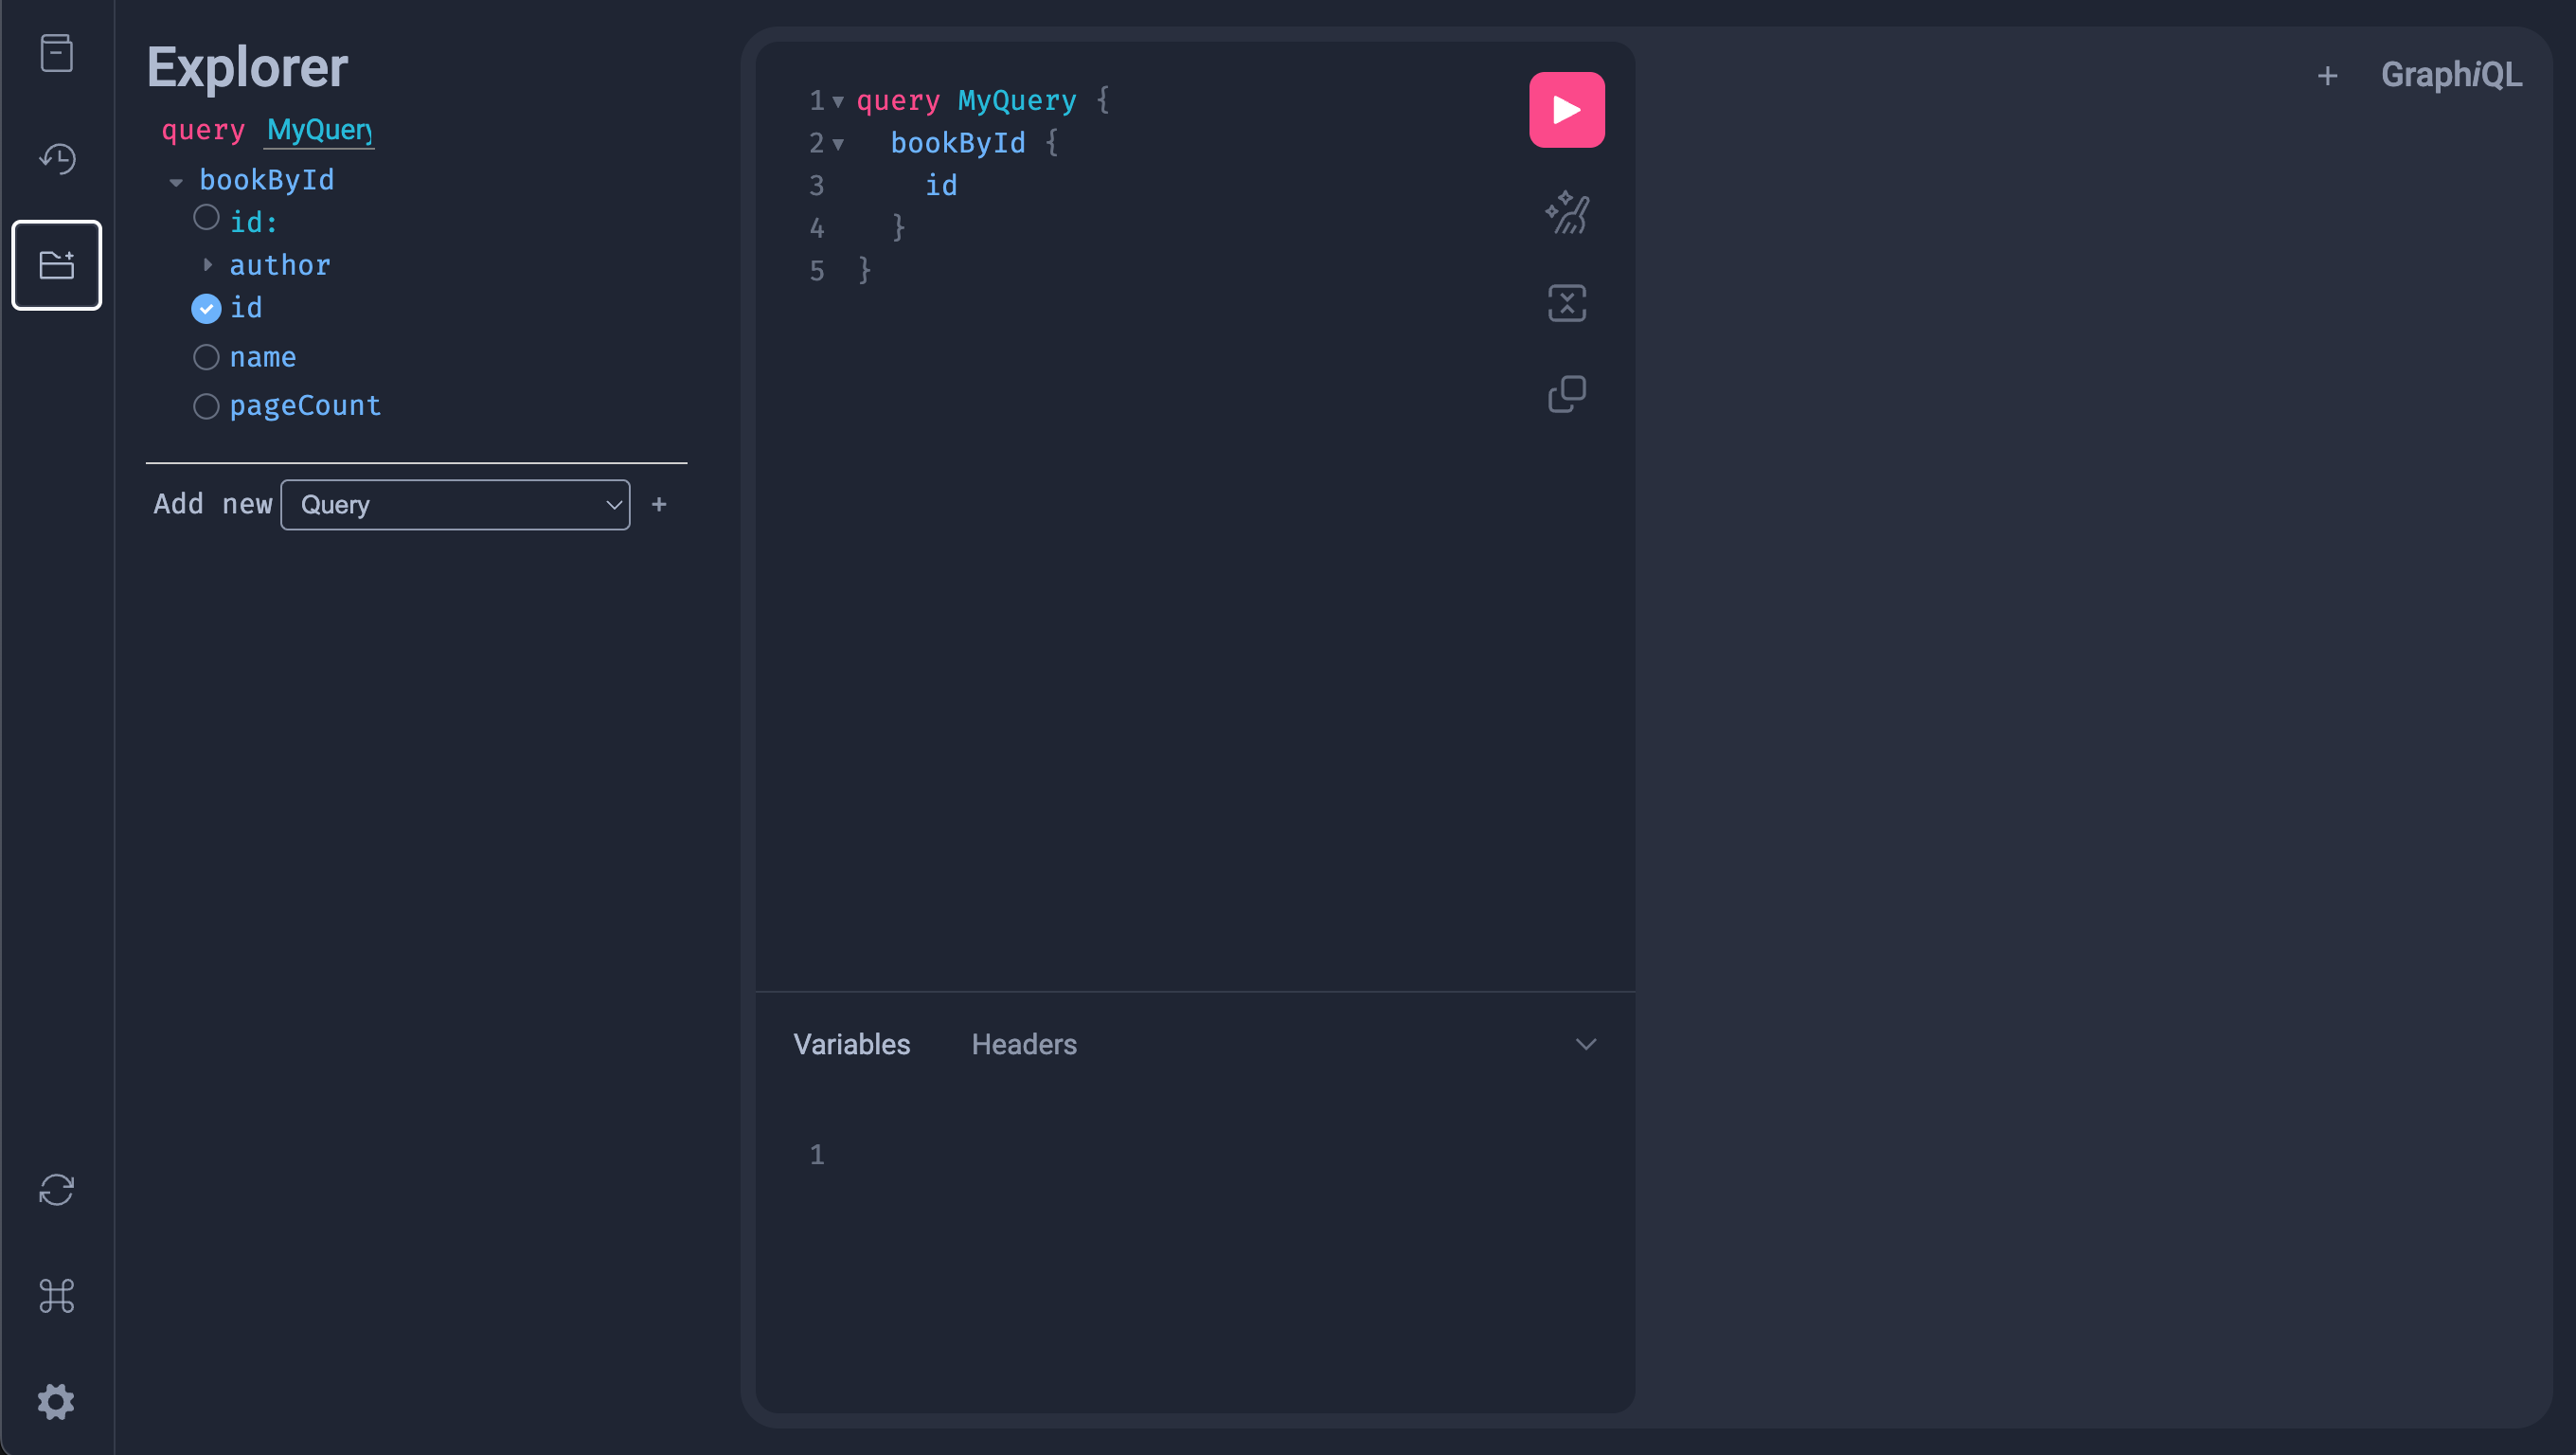
Starting your application with ./gradlew run, you can browse to http://localhost:8080/graphiql to launch the GraphiQL query editor that's bundled with micronaut GraphQL integration.
Within its editor you can test all of your operations interactively:
